Follow me on Facebook
Follow me on YouTube
Download and print out this shopping list to help you gather these tools.
Learning Outcome: I would like you, my visitor, to gain some familiarity with the basic tools of making jewelry, and to be able to start building a set for yourself without spending huge amounts of money. By understanding what the tools do, you will see their value as you start your journey as a jeweler. This blog post is called “A Basic Tool Set for Jewelers” and that is what it is. The bare minimum of what you need.
I have seen that many online educational videos tend to assume that you have some experience with bench work. Many also assume that you have access to tools. Lots of tools. Very expensive tools. This was a pet peeve of mine when I was just starting in the mid-80s and it seems that nothing has really changed.
This post is my suggestion for a basic set of tools to get started with making jewelry. We all started somewhere and figuring out what to spend and what to buy is not easy when you do not know what the tools are for in the first place!
I remember back when I started in the mid-80s as a hobbyist and felt guilty if I spent $100 a year on my hobby where I made lots of horrible ugly stuff. (In 2020 dollars, that would be $244.35.) All of my tools except for the ring mandrel fit into a rather small fishing tackle box for probably the first 4 or 5 years of my hobby. If you have seen my videos, you will see that I have added a few items over the decades. My goal is to help you get started on a shoestring budget as much as possible.
One thing I have learned over the years is that many people do not have a dedicated work area. For this reason, I will be teaching basic processes and techniques at my jewelers bench. but when it comes time for demonstrating projects, I will teach them with a basic tool set and will be working from a small table outside of my shop.
Only one caveat: when I do my demos for projects, I will let you know if I will be using the set of tools you see on this page, or will be using an expanded set of tools. Those will be featured in additional blog posts.
This blog post is called “A Basic Tool Set for Jewelers”. What I will list here will be all tools to make jewelry with no power tools at all.
So let’s see if we can build you a set to get working with…
The prices below are what I think are fairly average prices for these tools from jewelry supply houses and stores that sell jewelry supplies. With some looking around, you can probably cut these prices in half or more. I tend to stop by stores like Goodwill, St. Vincent de Paul, and used home supply stores like Habitat for Humanity’s Restore. I find a lot of used tools and items in these stores. Many times they just need a little TLC to get looking and working like new.
First, you need a place to work.
Here is a post about making this project: https://livingstonjewelers.com/blog/learning-the-how-and-why-of-jewelry-making
I think it is safe to say that most hobbyist jewelers starting out are working from a table in their home. I am going to assume that you, my reader, are in this group. (If you are not, Great!) A place to work that is stable and large enough to hold your projects is important. To begin, I would encourage you to not work directly on your kitchen table because that can ruin a good piece of furniture really quick.
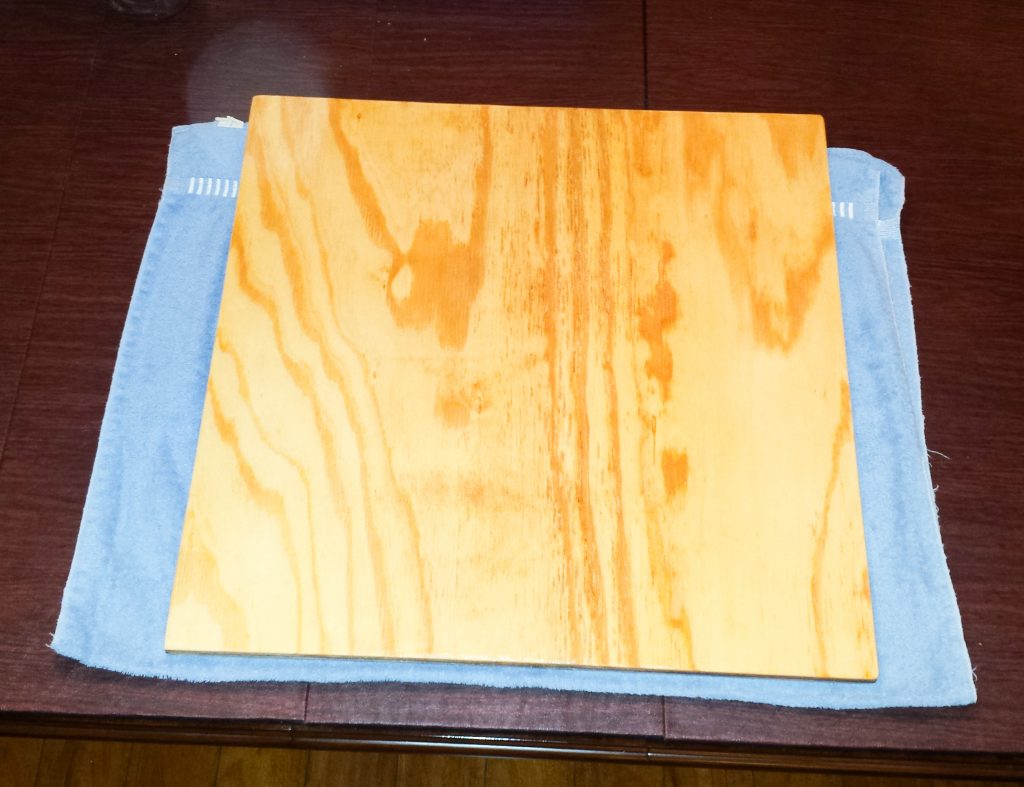
Lay this on top of your table on an old towel as a cushion and it makes a great portable workspace. It looks like this might be your first project so have at it. All told this will cost about $25.
When you use this, pull it to the edge of the table. If you will be using a bench pin, you will want to pull it so it hangs over the edge enough to attach the bench pin.
Your Basic Set of Tools
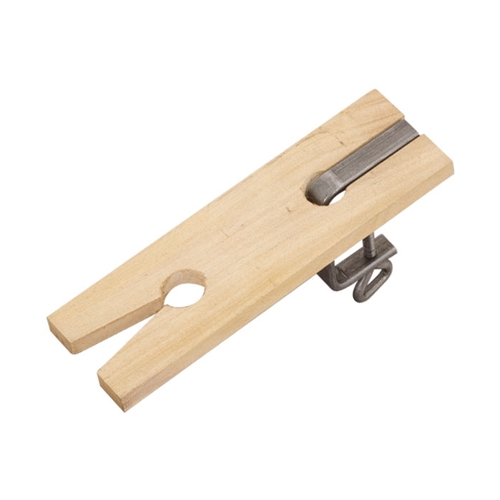
Bench pin and clamp ($7)
The bench pin is where you will do 80% or more of your work. About 5 inches long and 2 or 3 inches wide, this is where the magic happens.
This simple bench pin is made of quality hardwood and comes with a clamp, which easily grabs onto any bench edge up to 1 3/4 inches thick. This is for sawing and working on jewelry or various other craft materials. This is what I suggest as a good quality bench pin. You can also make one from a scrap of lumber and a C-clamp.
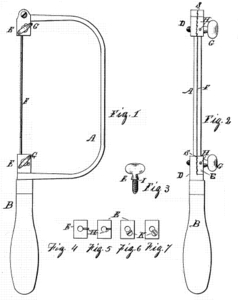
Adjustable saw frame ($15)
You can get started with an economy saw frame. These look a lot like fret saws for wood working but they are pretty specialized for jewelry. You will probably need to buy one of these new. It is rare to find one second hand. Walter Jones of New York, NY applied for the patent of the modern jewelers saw on March 7th, 1883. It has not really changed much since then. And the image from the patent is a great way to see what you need. this will hold a blade that is about 4 inches long. This saw frame delivers the maneuverability you need as a jeweler to cut curves, angles and corners. Most are adjustable for length now, allowing you to set the blade tension you want for any saw blade length. The serrated clamps hold blames firmly, and the contoured wood handles are comfortable to hold.
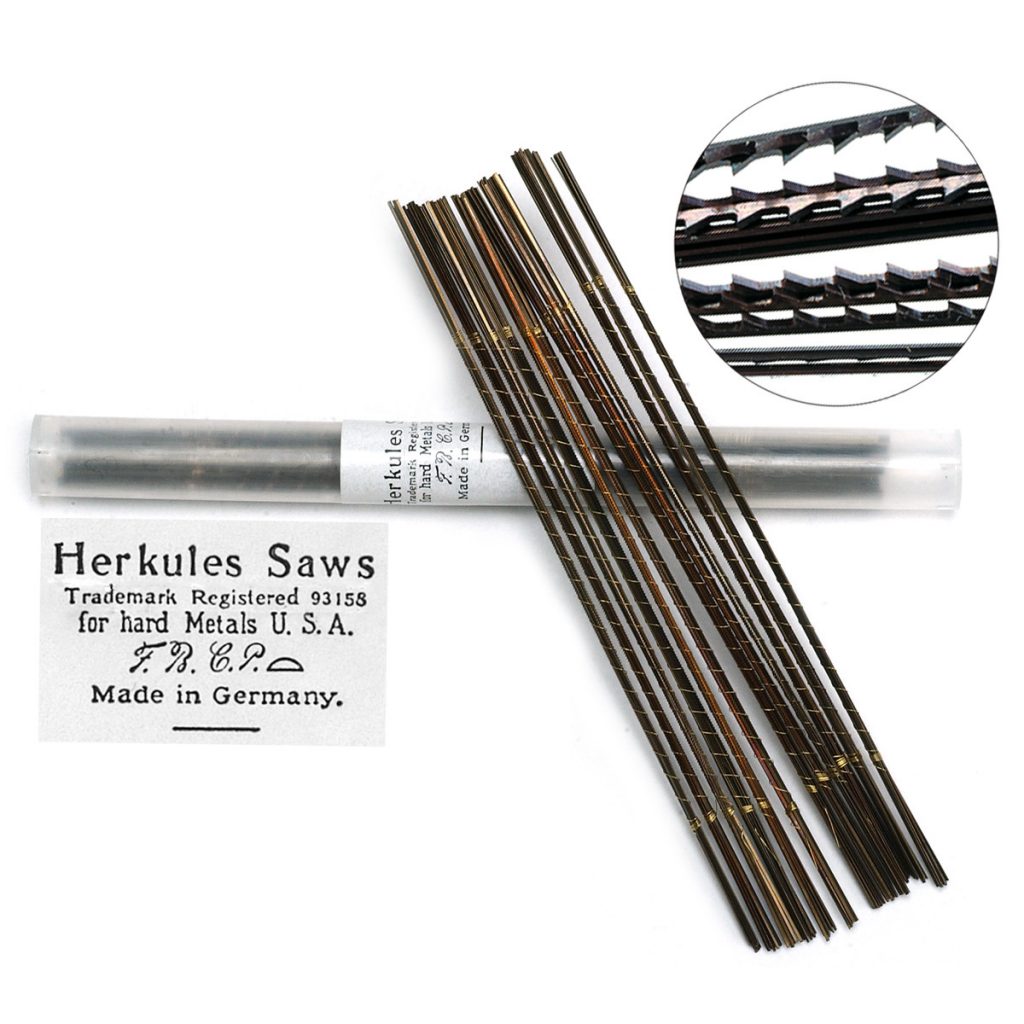
Saw blades for jewelers saws.
These run about $4 per dozen. I suggest getting the best ones you can afford. If you get the cheap economy saw blades, you will end up paying more because they break so easily. I suggest starting with 2 sizes. 0 and 2/0. You can buy these by the dozen, or the gross (12 sets of 12). They tend to be cheaper by the gross. When you find the size that works best for your designs, get the gross. Herkules Jewelers Saw Blades are the ones I use.
Saw blades are a complex subject, so I am going to link you to a page I already have about them on my website: Saws, Saw Blades and Sawing. All the information you want about saw blades is here.
pliers ($4 to $10 per pair)
You can never have enough pliers in my opinion. I modify them all of the time to do specialized tasks. But I will start with 6 basic shapes. Look at used tool stores to find deals on used pliers. Also, check the sale flyers for craft stores. Many times they are on sale. Wait for the 50% off coupons.
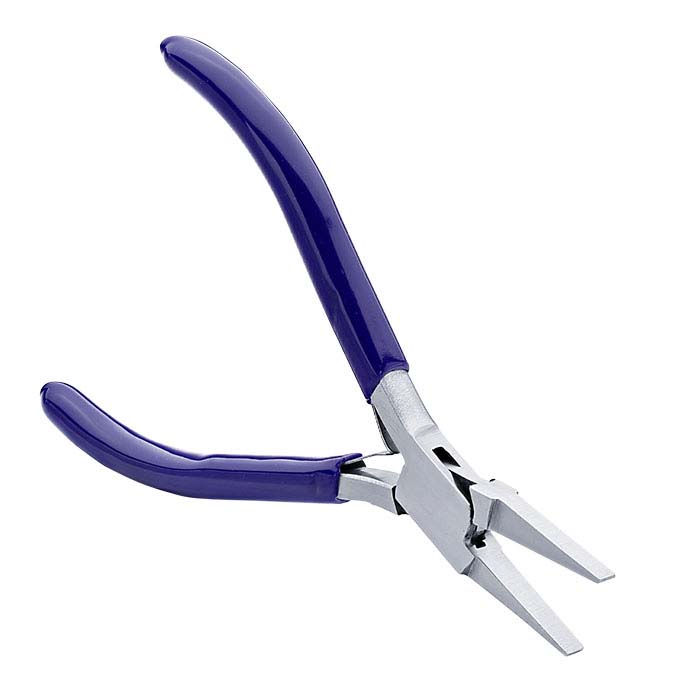
1. Flat-Nose pliers
Flat-nose pliers can have a pointed, rounded or flat tips. ideal for detail work with metal sheet, wire and components. Both jaws are flat with a smooth interior surface that helps minimize marring and scratching of the surface of your project. These pliers make wider, broader bends in wire. They can be used for metal-forming, straightening and flattening, making angled bends, and holding components. They may, or may not have a spring in the handle to help open them during use.
If you can look for these that have a box joint where one half of the joint surrounds the other, and the pivot is contained within. This joint holds its alignment far longer than a lap joint but allows the tool to open only as far as the box size.
2. Chain-Nose pliers
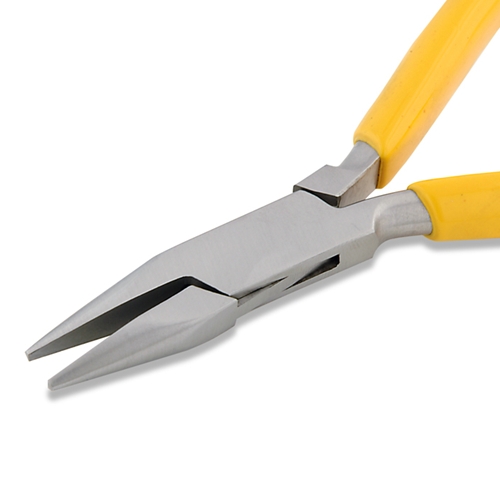
On chain-nose pliers, both jaws are semi-round with flat interior surfaces, tapering to a point from the pivot to the tip. These are great for general small-scale bench work, including opening and closing jump rings, flat crimping and making angled bends.
If you can look for these that have a box joint where one half of the joint surrounds the other, and the pivot is contained within. This joint holds its alignment far longer than a lap joint but allows the tool to open only as far as the box size.
3. Flat/Half-Round pliers
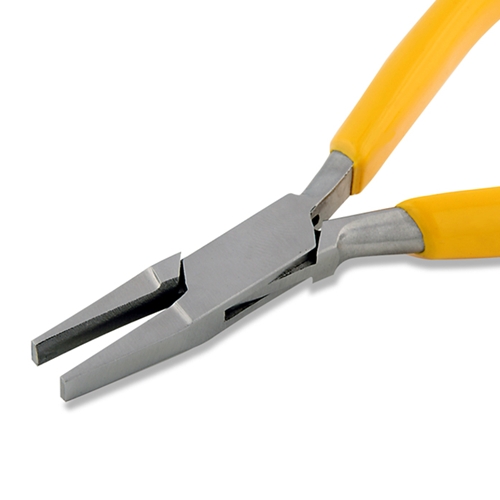
Flat/Half-Round pliers have one flat and one half-round jaw, giving you the flexibility to form sheet and wire by forming it around either jaw. Use the flat jaw to form broader, wider curves in wire; use the half-round jaw to create more precise bends. Forming pliers have a variety of jaw configurations designed to maximize the ability to bend, shape or form wire, strip and sheet.
If you can look for these that have a box joint where one half of the joint surrounds the other, and the pivot is contained within. This joint holds its alignment far longer than a lap joint but allows the tool to open only as far as the box size.
4. Round-Nose Pliers
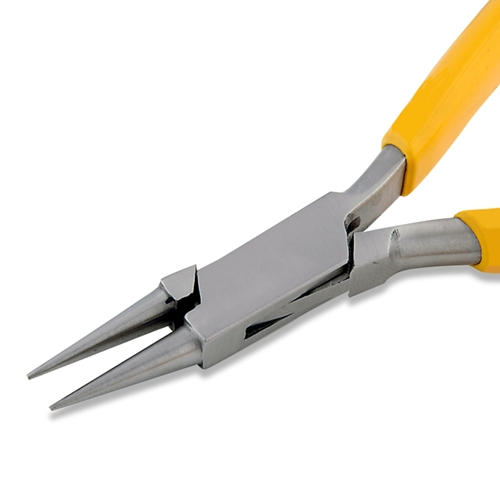
Round-nose pliers are a first-rate general use tool, suitable for all types of bench tasks, including making loops, jump rings, coils and curved bends. They come in all types of short or elongated jaws, with different diameters to each jaw. You will use these almost every day you sit at your bench.
If you can look for these that have a box joint where one half of the joint surrounds the other, and the pivot is contained within. This joint holds its alignment far longer than a lap joint but allows the tool to open only as far as the box size.
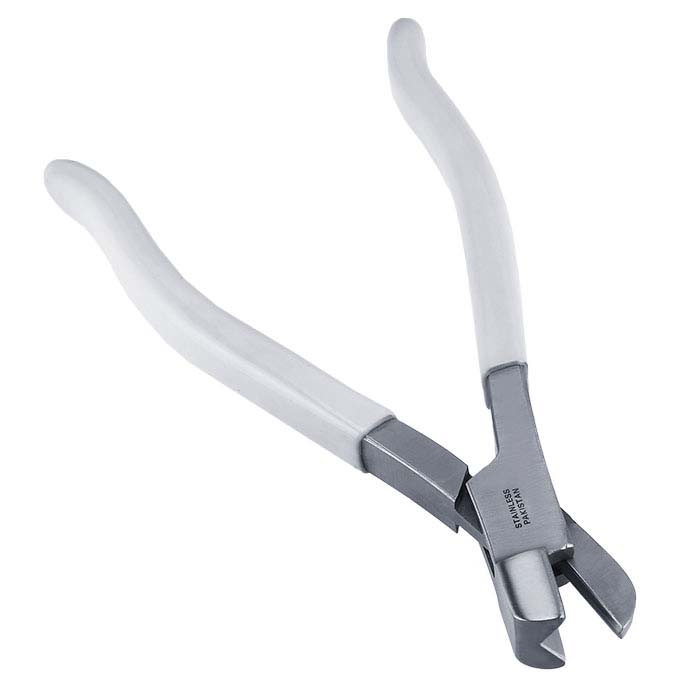
5. Bow Closing Pliers
Heavy-duty pliers for closing bows and loops. Rugged enough for bending ring shanks. Also called ring-bending pliers, these can be used for bending any gauge of wire into ring shanks.
Forming pliers have a variety of jaw configurations designed to maximize the ability to bend, shape or form wire, strip and sheet. You will probably gather several versions of these over the years.
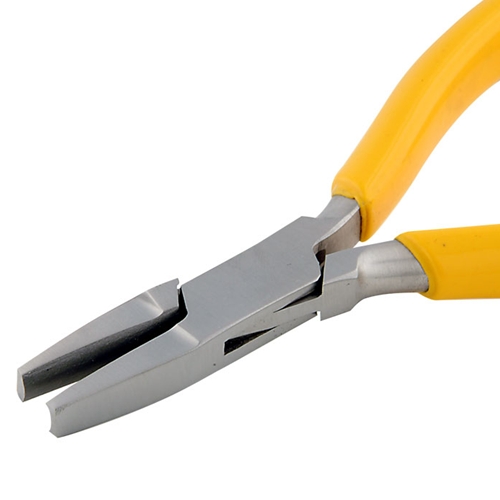
6. Half-Round/Hollow pliers
Think of these as a very small type of forming pliers like the bow pliers above. Used with smaller wire and sheet to put a curve into metal and to form rounded parts, these come in a lot of different sizes as well.
If you can look for these that have a box joint where one half of the joint surrounds the other, and the pivot is contained within. This joint holds its alignment far longer than a lap joint but allows the tool to open only as far as the box size.
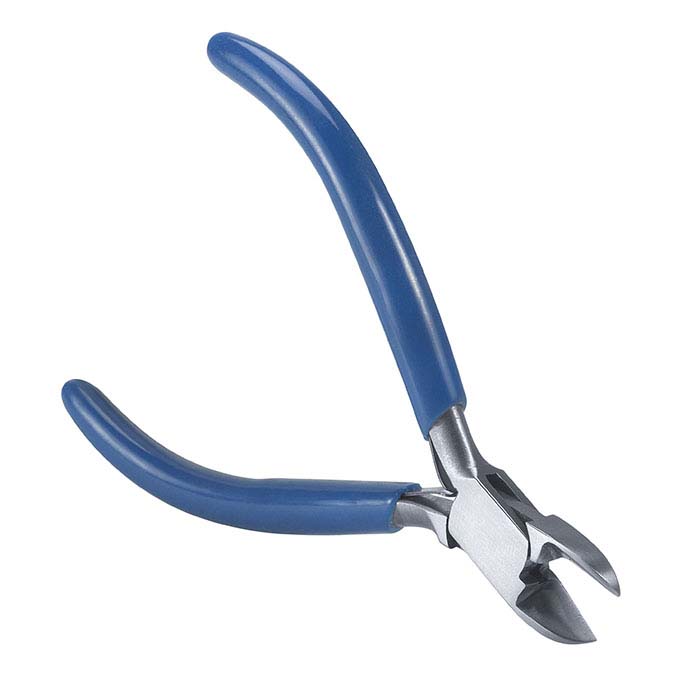
Side Cutters ($6)
Side cutters are useful for cutting thin pieces of wire and sheet stock. These come in flush and bevel cutters. The way the jaw is ground will determine if they are flush or bevel cutters. Look at the jew, if one side is flat, they will leave a cut that is almost flat on one side. If the jaws angle in to the cutting surface on both sides, then they will leave a distinct bevel on the cut that will need to be filed off.
These are suitable for detailed work in close spaces and hard-to-reach places. excellent for a variety of bench and wire-wrapping tasks and perfect for delicate operations. Use these with finer gauges of wire such as used for weaving and wrapping wire.
The most durable of cutters, bevel cutters require more pressure to make the cut; they have a distinct V-notch on the back surface and leave a pronounced pinch at the ends of the material.
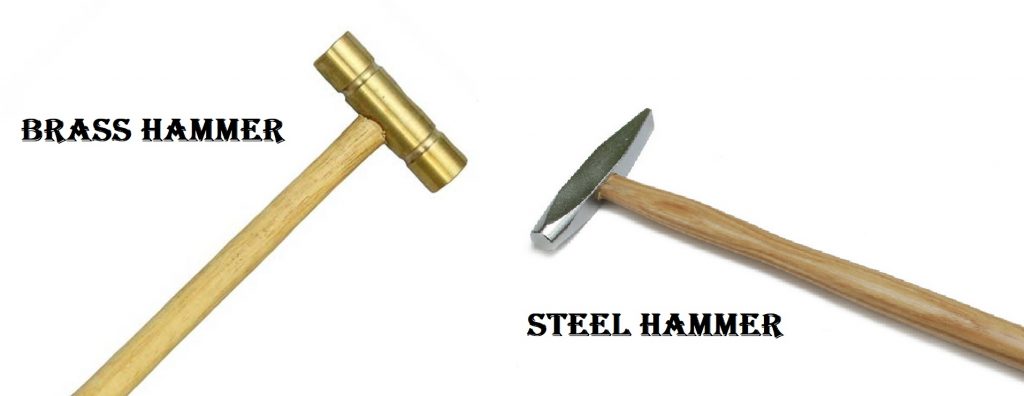
Hammers ($30)
You should start with at least two hammers. One steel and one brass.
You do not need hammers that weigh a pound and over. A few ounces is enough. The brass hammer should have a head diameter of 0.75 inch or less. the steel hammer should have a face of no more than 0.75 inch. These should be enough to do most of what you need to do. You should make sure the hammers have a highly polished face. Every mark on the face of the hammer gets transferred to your work with each strike. You should be able to shave with your hammers.
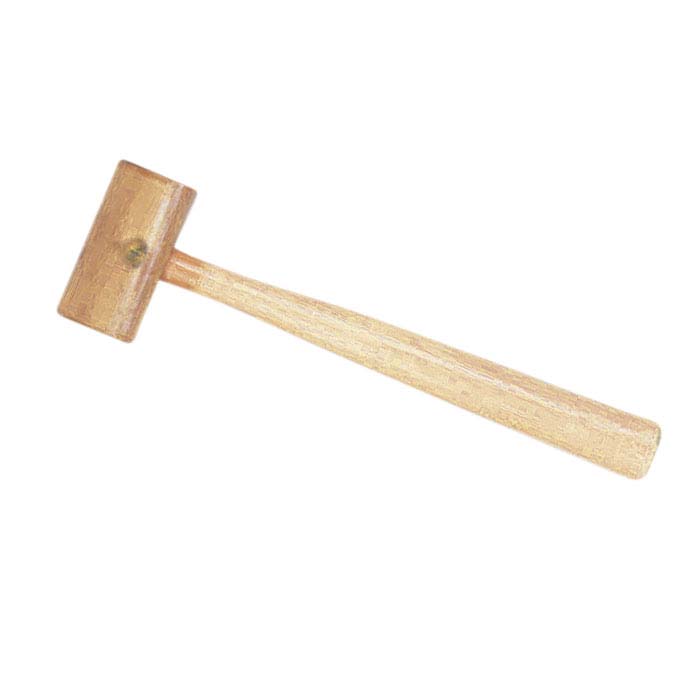
Rawhide mallet ($15)
I suggest for general purpose work a mallet with a 1-1/2″ diameter head.
A rawhide mallet has a head made from rawhide and a handle of hickory, is is used for forming, bending and flattening metal by hammering directly on its surface. Rawhide mallets are glued and sealed in the factory, leaving them hardened to the point of marring the surface of your work. you will need to break-in and condition the face of your mallet before use.
To condition and soften your mallet, soak it in water for a couple of hours. you want to then pull it out of the water, and then go find a rough piece of brick or concrete.
Pound the hammer into this until the spiral of the leather roll is softened and blurred. If there edges appear a bit frayed, that is fine. The face of the mallet will feel slightly soft and not as hard as it was when you first bought it.
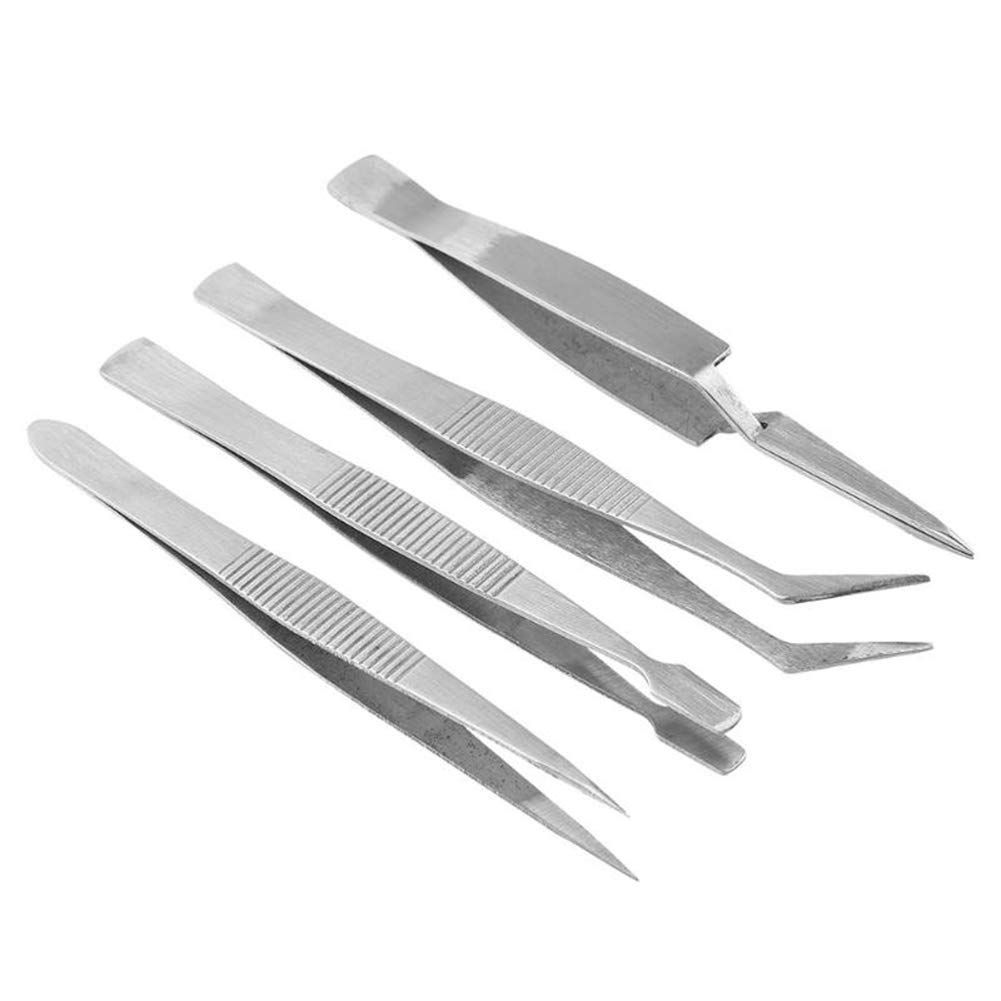
Utility tweezers assortment (about $5 per set)
Get a few different ones. Some with very fine points, some rounded points. 3 or 4 to start. A selection of general-use tweezers will be useful for a wide variety of bench tasks, including soldering.
Files
I am not going to go into great detail about files here as that will be a post all of its own. It is a large and complex subject that needs a lot of discussion to even begin to understand.
For now, just know that the files I suggest are all in the Swiss system of file grading and are “Double Cut” which means they have two rows of teeth which cross each other.
Whether you’re filing a flat surface, shaping the inside of a ring, or widening a slot, you want to choose a file that is as close to the profile you want to get the most
A set of double-cut files ensures you have the file shape you need for all of the work you do. A double-cut file features two sets of evenly spaced teeth set in two directions, one at a slightly different angle than the other. Double-cut files are designed to cut more aggressively, maximizing the work of each stroke to remove more metal with fewer strokes. At the end of the stroke, the file should be lifted from the workpiece and re-positioned for the next stroke; dragging the file backward against the metal loads up the file with metal bits, and it reduces the effectiveness of your work. So you end up working harder to remove the same amount of metal.
#2-cut hand files: ($15 to $25 each)
Keep these clean and do not let them rub against each other. The biggest cause of wear and dulling on your files is other files! With a bit of care, your files should last a decade or longer.
Flat

half-round

square

barrette

Chain-saw Sharpening files ($15)
Not normally seen as a jewelers tool, but I love mine. about 6 to 8 inches long, these are round, very straight with no taper, hard files made to sharpen chain-saw blades. I use them all of the time. I have them in 3 diameters. By keeping them in a sleeve when not using them, I am still using the ones I bought in the late 1980s.

Needle files (set of 5, about $40)
These 5 to 6 inch long files are the one you will use all of the time. Start with a single set and add more files with different cuts as you can. Get the best ones you can afford. Below you will find pictures with a diagram of each files profile. These will fit most of the jobs you will be working on. As long as you keep them clean and do not let them rub against each other, they should last for years.
If you can, get a set of miniature needle files as well. These files run about 3 inches long and feature a miniature profile with a shorter cutting surface (typically about half their length) and round, narrow handles.
These small files are ideal for working on fine details and in small areas of you work; they’re ideal when access and surface finish take priority over metal removal.
half-round

three-square

equaling

round

square

A quick note about “Cuts”. These files have a German cut #3; German-cut files are graded by the number of teeth, counting teeth parallel to the long axis of the file. German cuts start coarser than Swiss and go finer, offering more increments for more precise cutting. In all cut styles, the higher the number, the finer its cut.
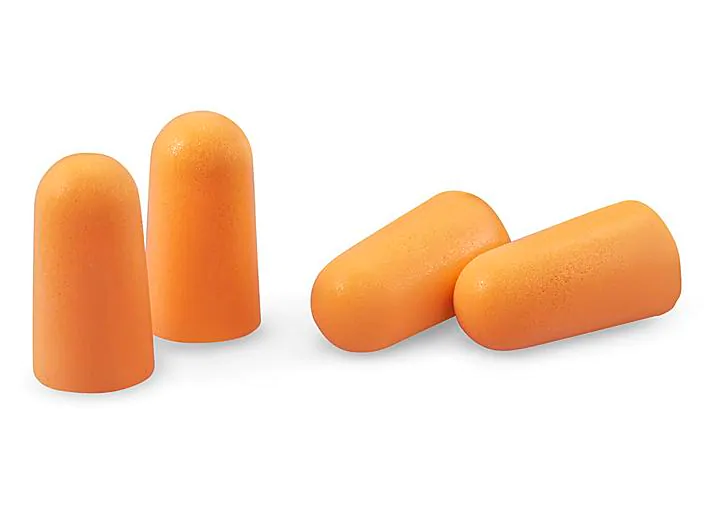
Ear plugs or earmuffs
basic or fancy, get ones that are comfortable to wear. The cheap foam ones are the cheapest but they work quite well for most jobs in the shop where you need to protect your hearing.
I also have a set of earmuffs that I can plug the AUX cable from my phone into them and I can listen to music while I work.
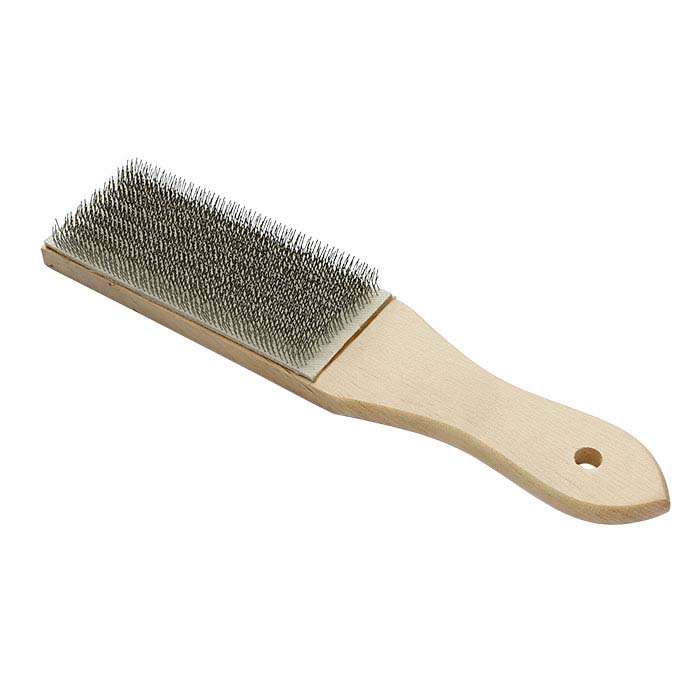
File cleaning brush ($7)
Used to clean your files, this keeps them working effectively. Get this and get used to cleaning your files at the end of the day.
ring clamp ($7)
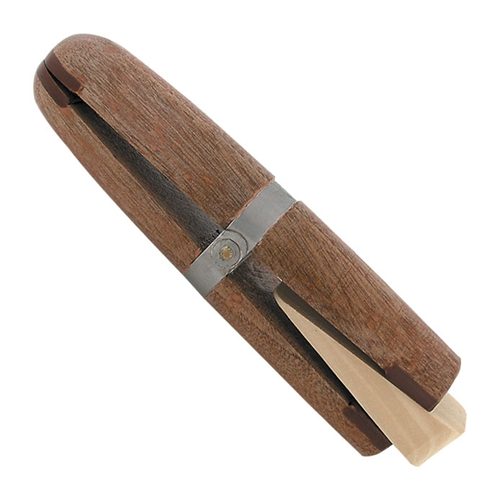
Not just for rings. Use this to hold small items so you can work with them. You can flip this over and use the flat top or the curved top.
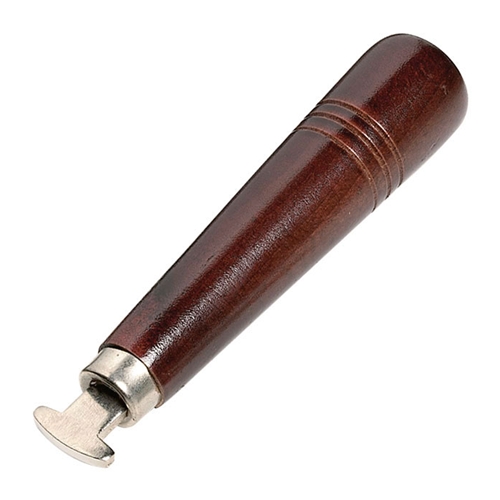
Bezel/prong-pusher/roller kit ($4)
Use this when setting gems into bezels. If you keep it at a mirror polish, you will not have to polish the bezel after setting. You will find a lot of uses for this tool. I like the flat ones personally, but you can get them with a curved groove in the face as well.
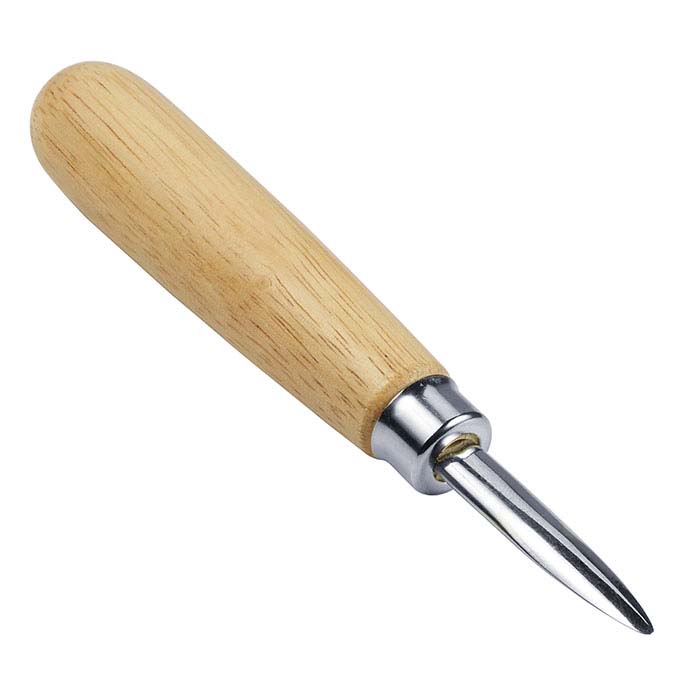
Burnisher ($10)
These come in many materials and in Curved or Straight. wood, jade, steel among others. For now, get one that is polished steel. For use on bezels and larger surfaces to polish them. make sure you keep this as close to a mirror finish as possible.
Slim-leg divider, 4” ($12)
You will use this when laying out your designs, making a scribed line to cut, straight or curved. I use these to transfer a measurement to an other piece of metal or wax quite a bit as well.

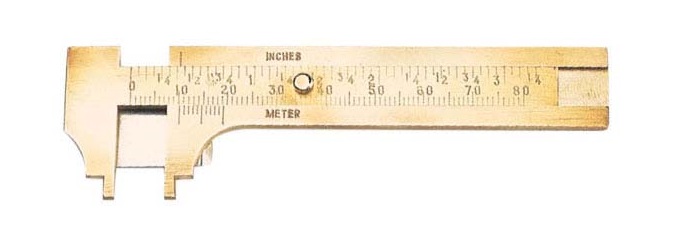
German sliding brass pocket caliper ($9)
A very general purpose tool. you will use these often.
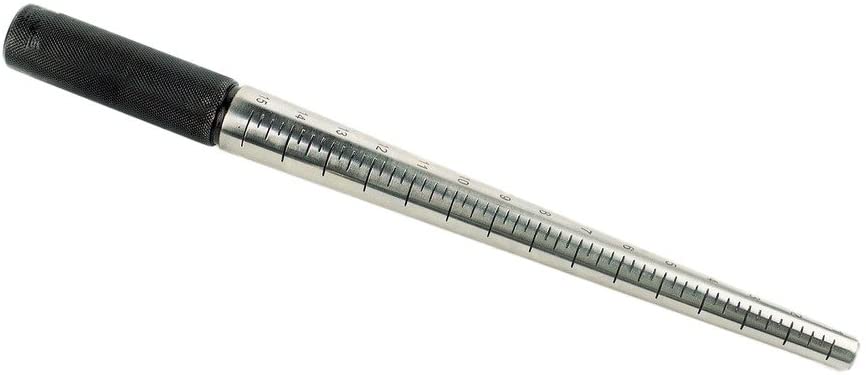
Steel tapered ring mandrel, without groove ($20 to $39)
You will use this all of the time for rounding up rings and general times when you need to pound on something. You can get these cheaper, but be aware that the cast steel mandrels can vary in size a bit so that the ring size gauge can be off as much as a size at different points. But, for beginning jewelers, those are the best value. That is what I started with.
If you can afford it, get one that has been shaped on a lathe as that should be accurate in the ring sizes marked to within an eighth of a size.
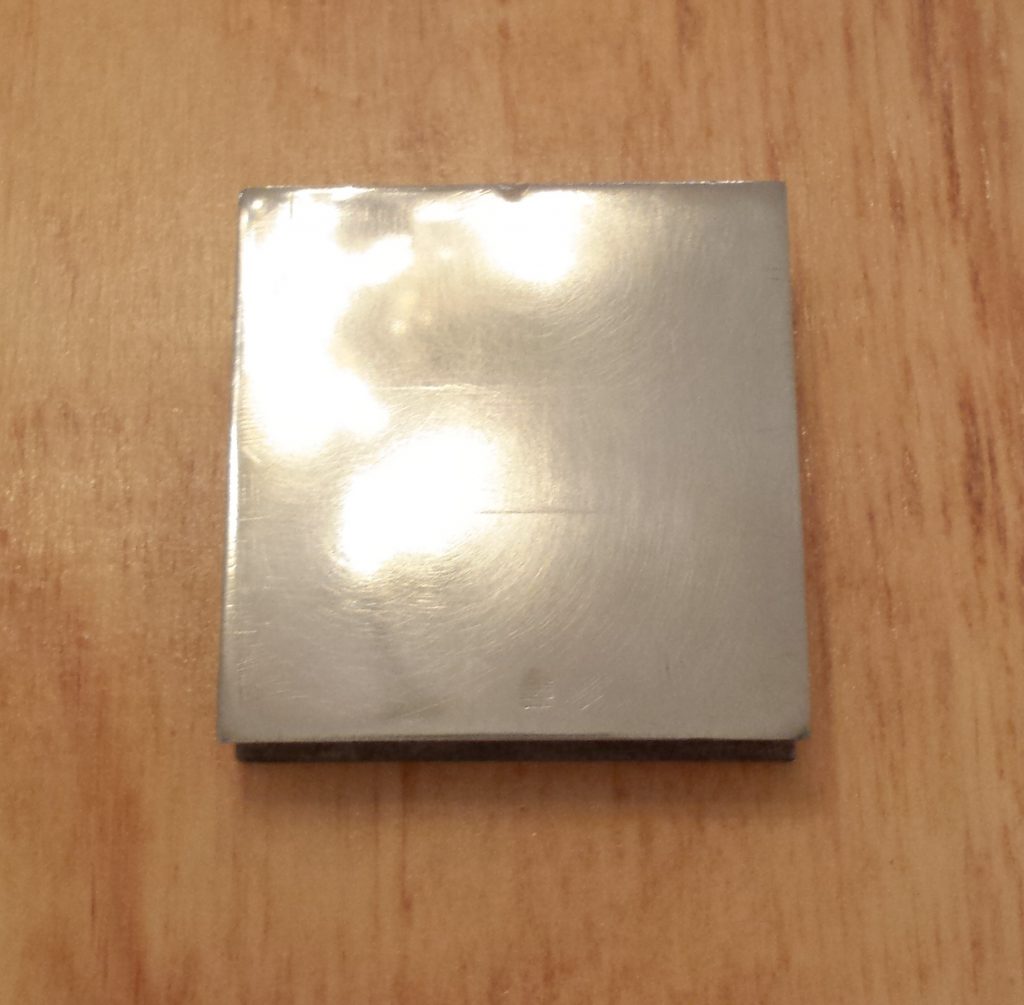
Steel bench block, 80 x 80 x 20mm ($10)
small bench block is ideal for jewelers who need a steel work surface but want to take up the bare minimum amount of bench space. Made from case-hardened, polished steel, you will want one at least 3 inches square. You can buy one or find a scrap piece of steel. You will need to polish the surface. You do not need a mirror finish, but it needs to be flat with no dings, gouges or blemishes.
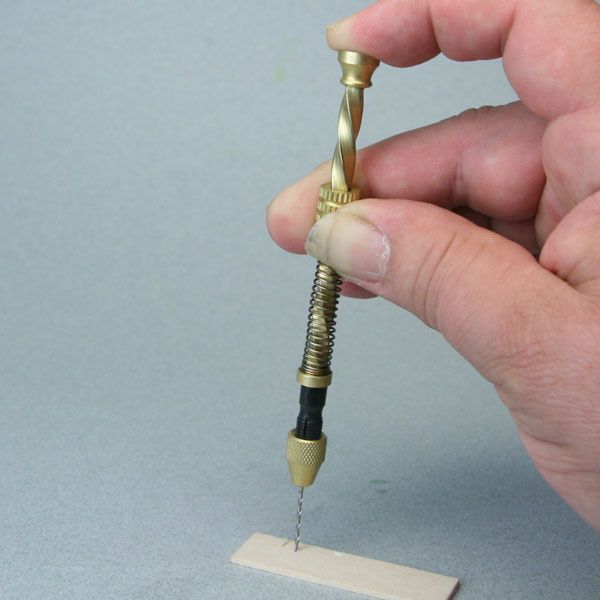
Archimedes Drill with spring ($12)
Use this drill for wax designs, pre-drilling layouts and drilling fragile objects. the chuck should accepts drill bits from about 0.5mm to 1.5mm. The term “Archimedes Drill” also applies to a type of pump drill with a cross bar. These can be used as well., but for beginner jewelers use the type pictured below. Using a hand drill, you will drill slower so you can concentrate on making sure you have your technique correct and it reduces the amount of mistakes while drilling. It may not sound like a lot, but an error drilling a hole of a mere 0.25 mm from where you want it can be a HUGE problem. it can affect your design visually so be careful with drilling.
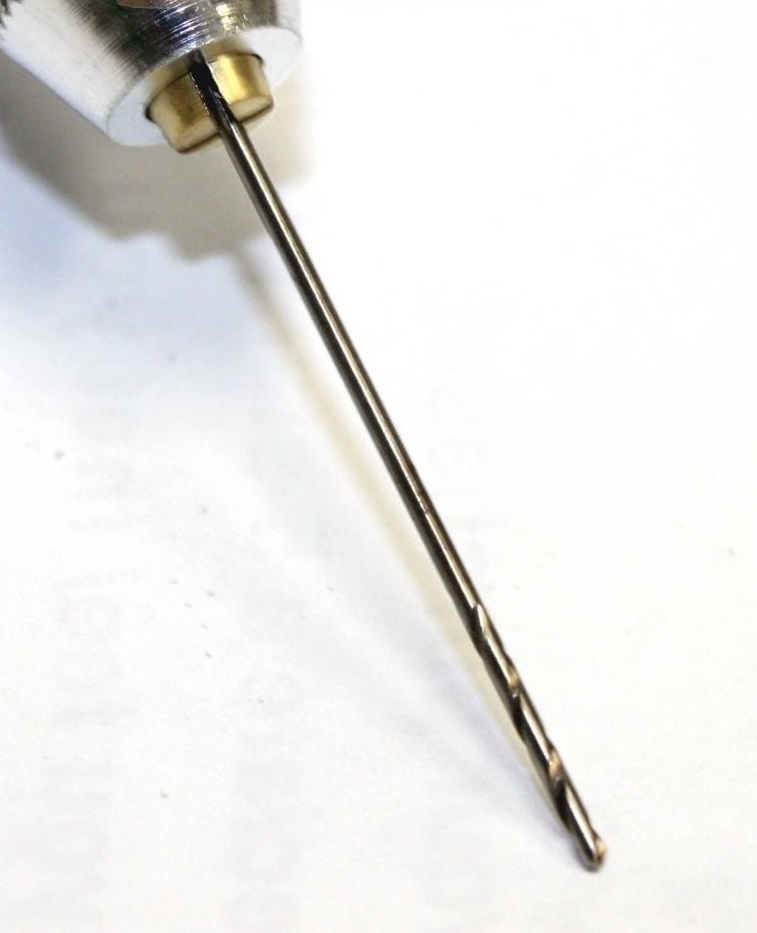
High-speed twist drill bits
High-speed drill bits start around $6.45 per pack of 10. You want to get these that will fit in the chuck of your drill. These will be as small as very fine sewing needles so make sure you do not drop them. Also, due to their size, it is very easy to cause enough friction so that they lose their temper and dull immediately. Make sure you use lubricant with these and drill slowly.
I can go on and on about drill bits and which ones are correct, so check out this page on my website to determine what size bits you need. It also lists drill bit sizes for making holes to fit wire gauges.
Determining Metal Gauges
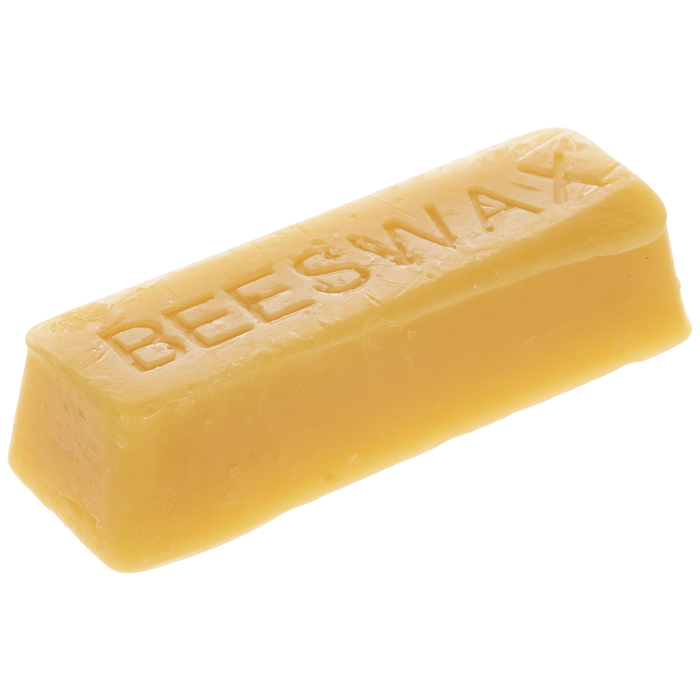
Beeswax or a candle stub $2
A small piece of beeswax or a candle stub is all you need to get started. this is the lubricant you use when sawing or drilling.
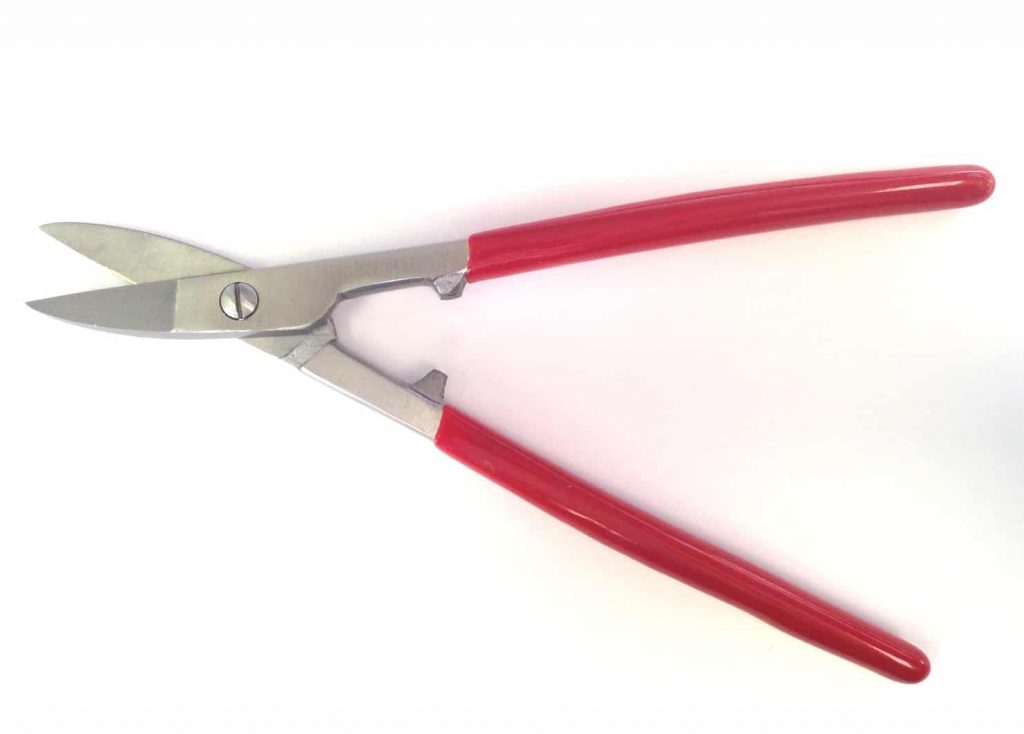
light-duty, straight-blade shear ($17)
Use these for cutting sheet metal. it gives a much cleaner cut than nibbling away with your side cutters on large pieces. For much thicker sheet, I use HVAC Aviation Snips. While the cutting edge is serrated, with the Compound Leverage, it allows me to cut up to 14 gauge copper and brass with ease. these can be purchased at any hardware store.
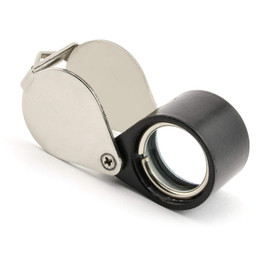
18mm triplet loupe, 10X ($10 – $20)
This 10X triplet loupe is ideal for inspecting both diamonds and colored stones both at the bench and wherever magnification is needed. The hinged cover swivels closed to protect the lens whenever the loupe is not in use. When people think of the one tool that is associated with jewelers and the jewelry trade, this is that tool.
This will be your primary tool for looking at stuff to make sure that joints are filed properly and fit well, make sure prongs and bezels are properly finished, and to inspect jewelry and gems.
I always carry one with me where ever I go.
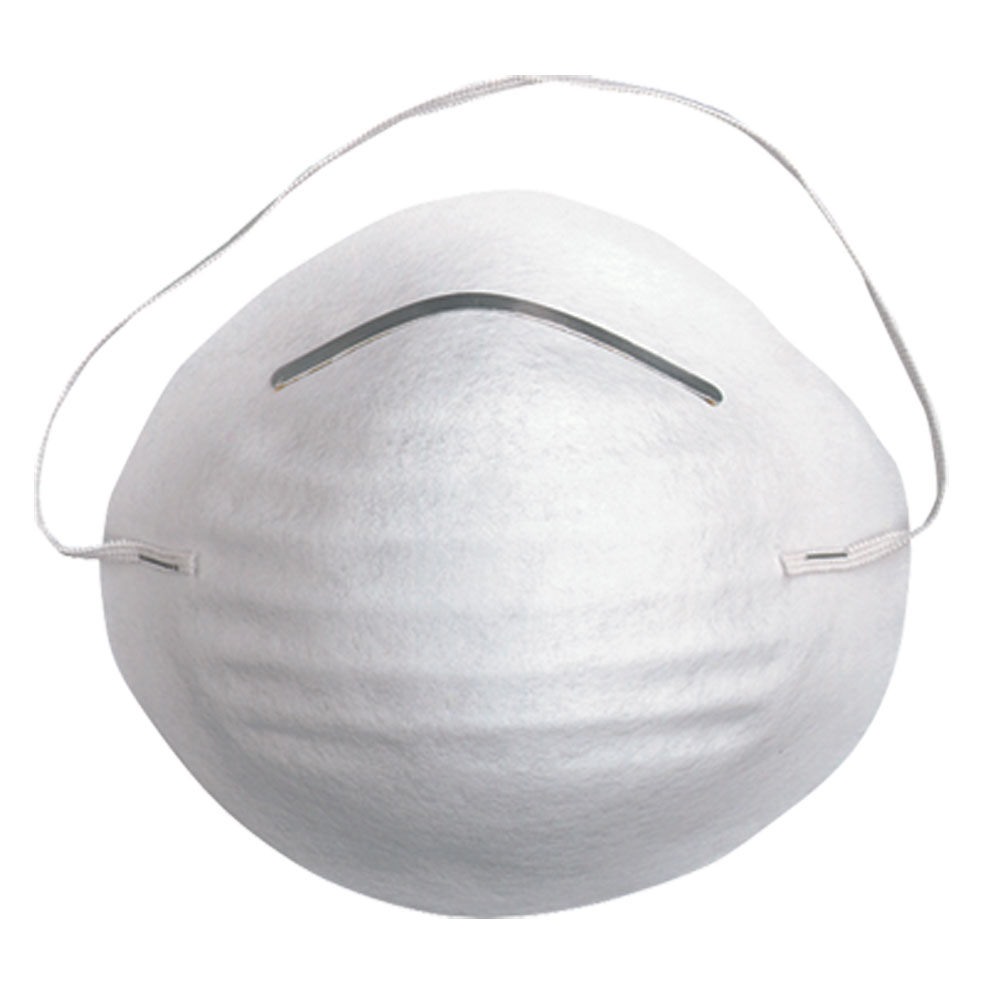
dust mask (about $1 per in larger quantities.)
This mask reduces exposures to large dust particles, such as certain polishing and metallic dust. This mask is not a respirator, and will not protect the lungs like those will, but for general use, these work well when working in the shop. When you are done for the day, tear off the moldable metal nose band, pull off the staples holding on the elastic band, and throw these in your recycling bin to reclaim the metal.
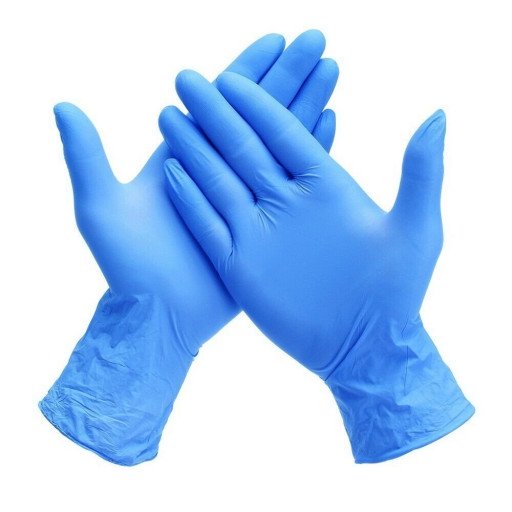
Latex / nitrile / vinyl gloves box of 100 ($17)
Depending on what you feel is most comfortable, you want to get a box of disposable gloves. I use vinyl gloves, but latex works fine if you do not have an allergy. Nitrile reduces the likelihood of an allergic reaction.
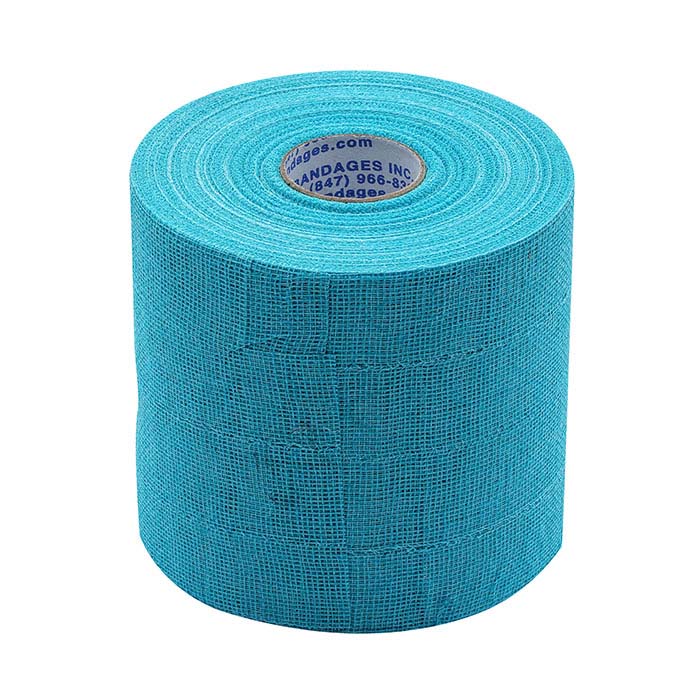
Finger Protective Tape ($8.50)
This is a type of slightly tacky tape that you wrap around your fingers. I use this all of the time when polishing as it is not likely to be grabbed by the spinning buffs. It protects you from protected from minor cuts, abrasions and burns. I have tried a lot of versions, but I always end up buying it from Rio Grande.
Alligator skin, pkg/4 ($8.50) Rio Grande Original Alligator Skin Protective Tape. Item #: 2013294. Each roll is 3/4″W x 90 ft long so it will last you a long time. Note: This product contains latex.
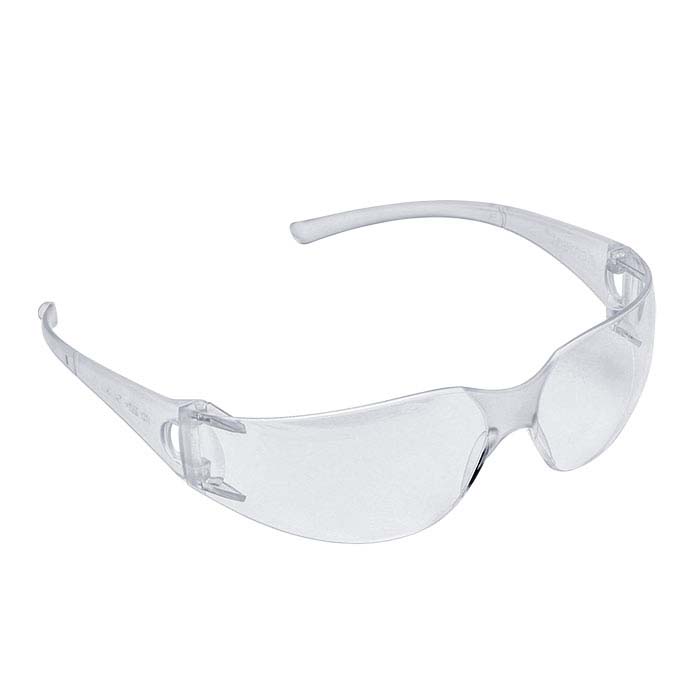
Safety glasses ($4)
These lightweight poly-carbonate glasses will protect your eyes while working. make sure you get the kind that wrap-around and offer a wide field of view. You should wear these at all times!
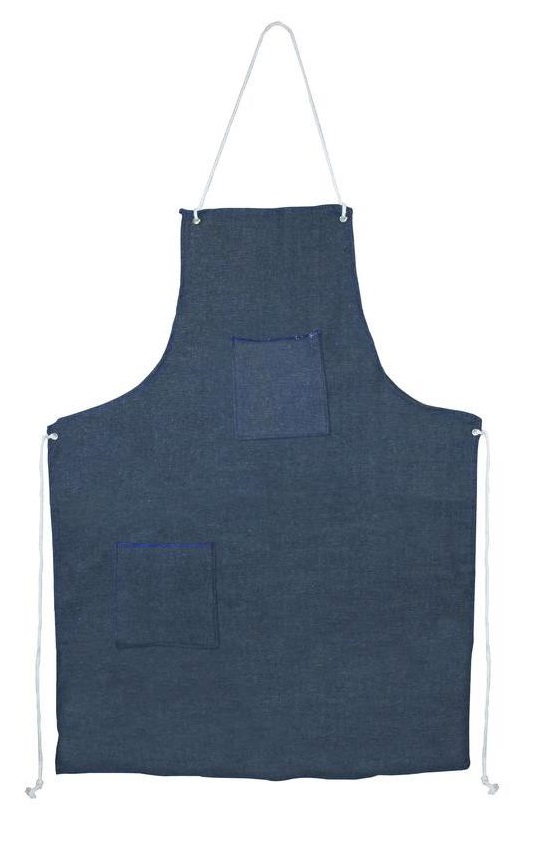
Denim work apron ($8)
Get a work apron that will keep you clean. Also, denim is good when you drop items. there is less chance of dirt, findings, and tools of hitting the floor. I prefer mine with no pockets, but that is something you will have to decide.
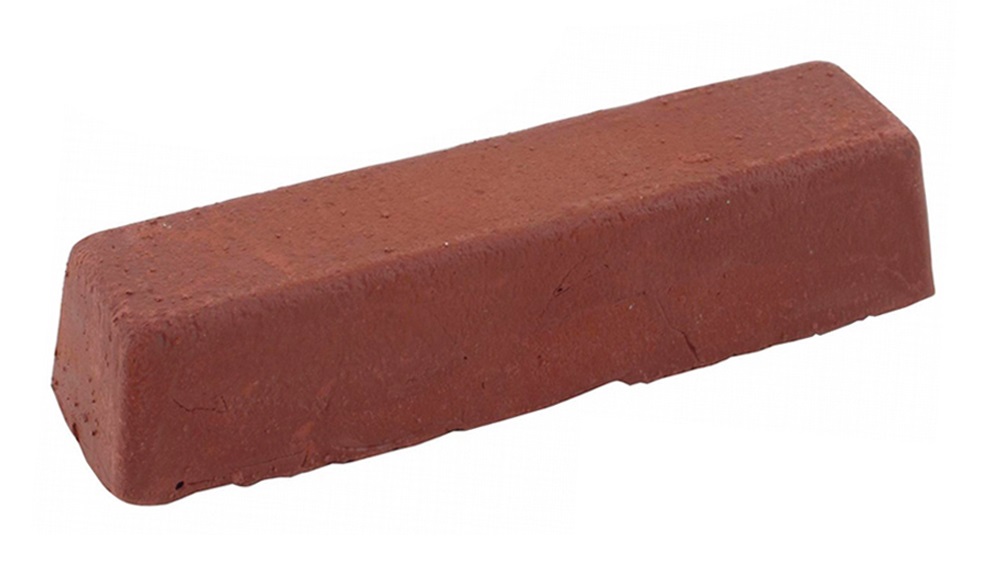
Polishes ($5 to $20 per bar)
These can vary quite a bit. The basics would be Tripoli and Rouge. But there are also Zam, White Luster, Fabuluster, and the list goes on. I will be making a post later about polishing, what the terms mean and how to do it.
Polishing compounds can be divided into 2 main sections.
Cutting compounds: very aggressive and they remove a lot of material quickly. I would put Tripoli and Zam into this group.
Polishing compounds: less aggressive and they leave a finer surface finish. Rouge and Fabuluster are in this group.
Right now, get a bar of Tripoli and a bar of Rouge.
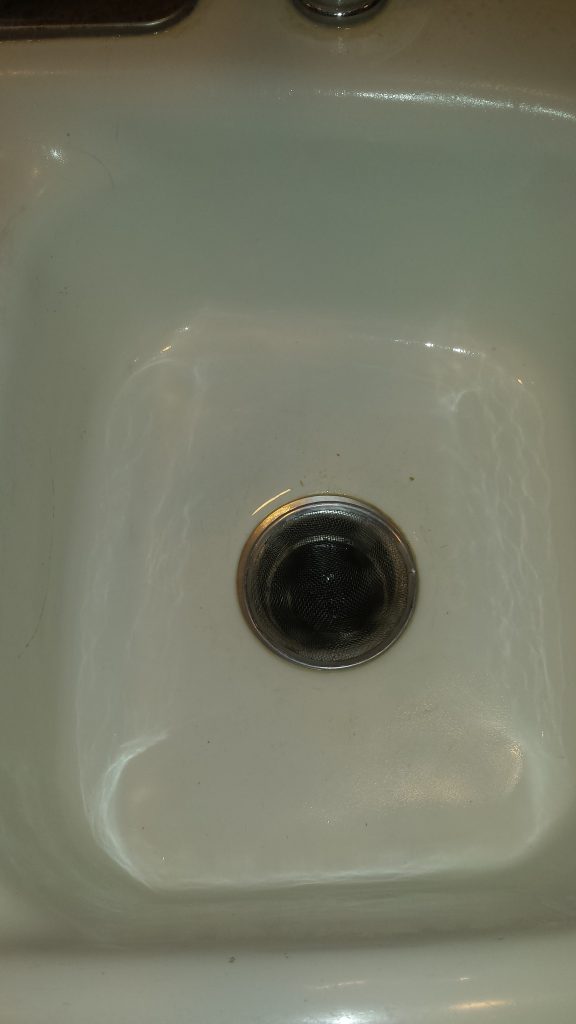
Sink Screen $2
You must have one of these. The first time you drop a gem or piece of jewelry down the sink drain and you are standing there thinking about how much of a pain in the butt taking your plumbing apart will be, $2 is gonna sound like a very cheap purchase.
And yes: “Been there, done that”. Learn from my mistakes.
This is my list for starting tools. I figure that if you spend as much as possible, you can buy these for $250 to $350.
That being said, most of these can be found on sale with some looking online. I recommend looking at used tool stores, Resale shops like Good Will, Restore, Saint Vincent’s.
Also join a couple of used tools groups on Facebook. There are some that are specific to jewelers and jewelry tools. I have found that many of these Facebook groups have listings that are a bit high. Always ask if they can drop the price a bit. Most sellers are open to this.
I would hope that with a little effort, you can drop the price of your basic tool set to the $200 ballpark give or take a little bit.
If you buy used, you might have to do a little maintenance to get the tools to where you can use them. Invest in some sandpaper and some urethane for tool handles.
Remember to print out the shopping list at the top to shop with. Good luck on your hunt for tools.
As always…
if you have any questions, suggestions, or comments, please feel free to comment below.
2 Comments on “A Basic Tool Set for Jewelers”