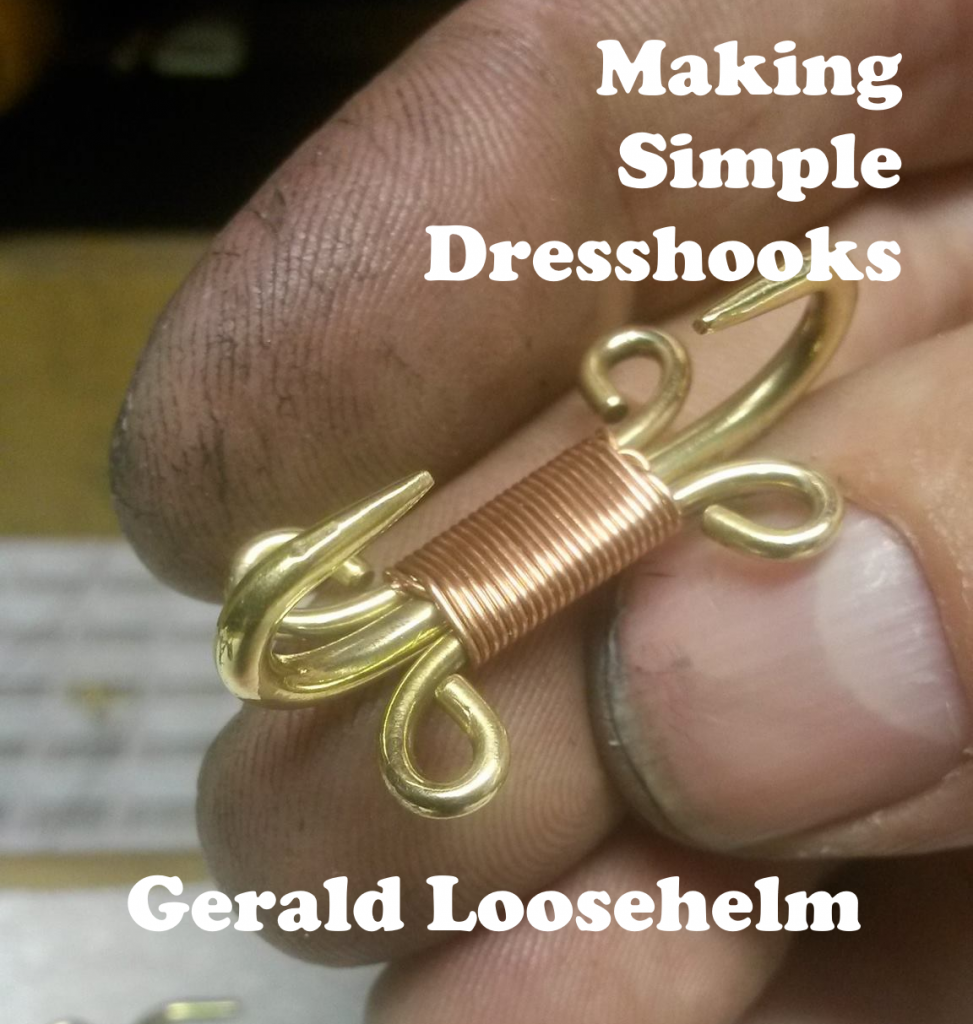
This post was to be named “Making simple dress hooks” but the terminology has changed. it is now “Hooked Fasteners”. Check out this link to lean more on the Portable Antiquities Scheme Website about “Hooked Tags and Other Dress Hooks and Eyes” .
All links in this post should open in a new tab or window. Most of the images are thumbnails so click them for the larger image.
I presented this information as a member of the SCA. (Known in the Society of Creative Anachronism as The Honorable Lord Gerald Loosehelm.) https://www.facebook.com/gerald.loosehelm When the video of the class becomes available, I will post the link here.
Here is the class I taught!
This is the pre-teaching notes for “Making simple dress fasteners”.
This tutorial is also available at this FaceBook link: https://www.facebook.com/media/set/?set=a.727351494064824.1073741859.100003699408250&type=1&l=35d4a4f58e
This style of hooked fastener was very popular during the early Tudor era. (1500 – 1575). As there is no soldering, it is a good first project for new jewelers. The process used here can be easily used to make other items.
These are based on the hooked fastener item LON-C2B6E3. It is a Post Medieval copper alloy wound wire hooked fastener dating to the 16th century (circa: 1500 to 1600).
Link: https://finds.org.uk/database/artefacts/record/id/938648
As there is no soldering, it is a good first project for new jewelers. To make a hooked fastener you will need the following supplies:
- A piece of 10 gauge (2.588mm) brass rod, 60mm long.
- 2 pieces of 14 gauge (1.628mm) brass rod, 45mm long.
- Copper wire 28-gauge (or 26-gauge)
- A Fire extinguisher (Always have one of these nearby!)
- Safety Glasses
- Cover for food
- Apron
- A 2X2 foot plywood sheet, 0.5 inch thick, sanded with 4 coats of urethane. This is your work surface
- A folded towel (to set the plywood on to protect your tabletop.)
- A bench pin (a scrap of wood and a C-clamp works.)
- An accurate ruler (with metric)
- A fine point sharpie marker
- Nippers to cut metal (electrical diagonal pliers work well and a lot of homes have a
- set in the garage.)
- Jewelry pliers Flat nose pliers with smooth jaws
- Jewelry pliers, chain-nose with smooth jaws
- Jewelry pliers, round-nose pliers
- A bench block
- A hammer with a polished face and pein
- Sanding sticks (220, 400, and 600 grit)
- A large file (For putting points on the wire.)
- A fire brick or a charcoal block
- A tin of water for quenching.
- Tweezers to pick up hot metal.
- Torch (A creme brulee torch or small propane torch will work.)
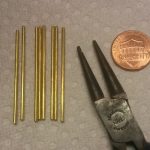
The first thing you want to do is cut your metal to length. This is enough for 4 hooks. You may notice that the large brass rods are not cut into four pieces. This makes it easier to taper the ends. you will cut them in half later.
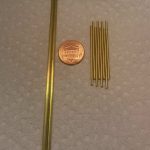
After you cut the metal take every piece and using a file or a sanding stick, flatten the end and take off the sharp edges.
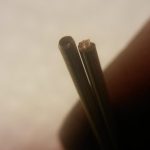
If you have a bench-pin, that works best. But you can use a small piece from a 4X4 as well. Make a small cut with a file that is deeper at one end and tapers off to nothing at the other end. This will let you file the end into a taper easier. Notice how the end of the wire sticks up a bit?
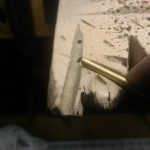
After some filing, you should start seeing a taper. You want to file this so you have 4 sides flat first. Then turn and start taking off the corners and pretty soon you can file and slightly twist the wire to round up everything. You do not want a sharp point. Just take the diameter down about 50%.
Do this for all four ends of the 10 gauge rods. cut them in half and do those four ends as well. Now you will see why you cut them in half later.
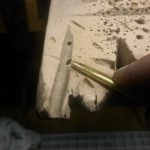
When you are done filing, start with sandpaper and take the rods to at least 600 grit. If you have a way to polish the rods, do it now.
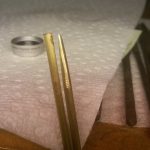
This is what you should have after sanding with 600 grit paper.
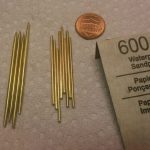
In a perfect world, the brass you buy will be dead-soft. So you will need to anneal the metal to make it soft enough to bend. A propane torch is all you need for this
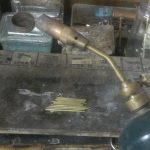
Heat the metal until it barely glows red along the entire length. Make sure you get the metal to glow for a few moments so the inside gets hot as well.

To make the twists, use a pair of round nose pliers.
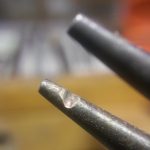
I like to file a small groove in the pliers to help grab the wire. It also helps keep the loops you make uniform in size.
Even with being careful, there will be some variations. and that is fine.
And a WARNING. Make sure you anneal the metal as it can and will break with the force necessary to make these bends. You do not want to be applying a lot of force when that happens. I prefer making closed loops. You can do what ever you like to the ends and that is ok.
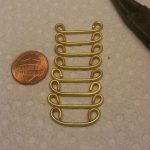
You can use the same round nose pliers or if you have a larger pair of pliers, you can use them to make the curves in the 10 gauge wires.
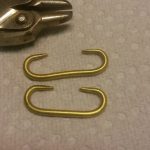
At this point, look at each piece and remove marks from bending them and make sure they all lay flat. sand and polish at this point.
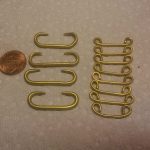
At this point, I am adding a step that I do not have a picture for. I found that when I assembled these, that the rounded wires rolled against each other. Not a major issue, but I have decided that planishing the sides of the large hooks on the sides so they are slightly flattened, and doing the same for the top and bottom sides of the decorative pieces allow for these pieces to lock together when you move to the wire wrapping step. Do not thin the metal too much as you only want a small flat area. Too much and the brass will bend and possibly break.
Now to assemble your skirt hook. Start by making a hook in the copper wire that is about 2 times as long as your large piece.
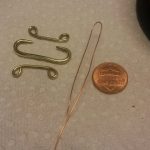
This part is the hardest as you have to hold everything in place and get the first couple of wire wraps around everything without it all shifting.
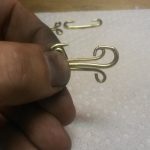
Start by holding the 3 brass pieces flat and laying the copper over the top like this.
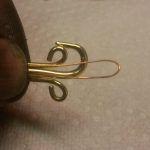
The other end should look like this.
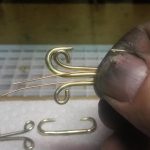
Take the long piece and bend it up 90 degrees and then pinch the copper right where you bent it. Start your wrap and while holding everything tight, make your first wrap.
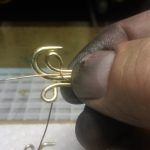
After you get to this point, start wrapping the wire as tightly as you can. after the 2nd or 3rd wrap, if you kept the wire tight, it will be much easier. Make sure you do not pinch or tighten the short piece of wire. It needs to lay in between the large wires so it can move freely later. If you catch this wire by letting it cross one of the brass pieces, it will be locked in place. It MUST lay in the groove between two of the brass pieces.
(note: Notice in the image how the wires are rolling? This is why you flatten the brass so it has flat sides to sit together. That will keep the pieces from rolling.)
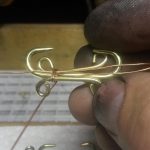
At this point you should be about 1/2 done. Make sure you are keeping tension on the copper and am not getting any kinks in it. If the brass components are moving freely, you may need to unwrap your copper and start the wrapping over. Don’t worry, this happens. I have to start wrapping over quite often. If the wire develops a bad kink, cut a new piece of copper and start over. A kink in the copper can be a potential weak point in the future.
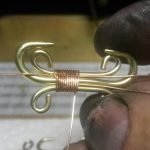
The brass wires should have the sides sticking out like wings on the large piece. If they are not, gently twist the large piece so that the flat sides are together and keep wrapping.
At this point you should be done wrapping. See that big loop? Carefully take your long wire end and run it through the loop. This is where we lock everything together.
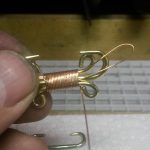
When you get the wire in your loop, try to make it as tight as possible (Tighter than in the image. you want this as tight as the other loops.). you will not be able to make adjustments after the next step.
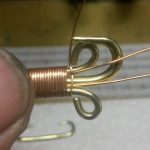
while holding everything tight, take a set of pliers and grab the short wire that is sticking out of the other end of the skirt hook (The loop end). Gently pull and it should move letting you pull the loop smaller. If it does not move you might have caught this wire under your wrap. Try pulling with a bit more force. it should move. If not, you may need to unwrap your copper part way to determine where you need to adjust things. In my experience, the wire will move freely most of the time.
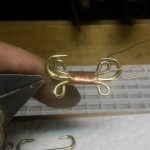
As the loop gets smaller it will catch the long wire and keep it from coming loose.
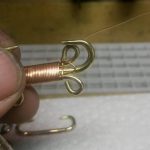
If you are lucky, the loop will go under the other wires and lock itself under the wrapped wire.
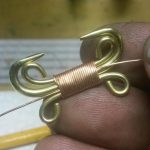
If that is the case, all you need to do then is clip the long wires and sand them smooth but in my experience, this is unlikely. So moving on to the next step…
You should have enough wire left over to carefully thread this long end back through the wrapped wire. You will need to find one of the spots where you can slide the wire through. Take your time as you may need to wiggle the wire a bit to make it work through and thread it into this space.If it does not fit into one space under the wrapped wire, try a different spot. One should work. If not, you may need to unwrap the copper and start over.
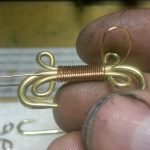
Carefully pull the wire until it pulls in and if tight against the brass. The copper may be work hardened some at this point and will want to kink on you as the loop gets very small so be very careful. The copper wire needs to fully go into this space as this is what holds it and keeps the end from getting caught on clothing.
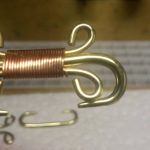
At this point, both ends will be sticking out of the same end of the garment hook. Carefully snip the wire ends as close to the wrapped wire as possible without cutting the wrapped wire. If needed, take a large pin and bend over the cut ends of the wire ends. Take a small piece of sandpaper and reach into this area and sand the wire ends smooth so they do not catch on fabric.
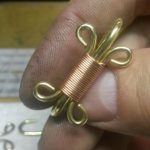
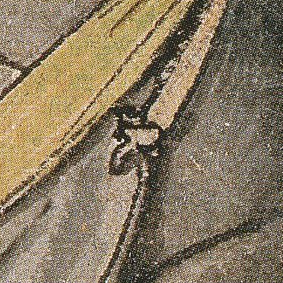
You should now be holding a finished garment hook. Now. How do you use them? Well. there are some paintings, but it is unclear how they were used exactly. This image by Holbein is what I suspect is the most common usage during his time.

A close up of the above image. I suspect that the hook was either looped through sewn eyelets in the skirt and or belt, or there were small metal eyes (Think hook and eyes…) sewn into the bottom hem of the skirt. This looks like a sash to me but I am not a costumer, so I will let more experienced people determine how this was hooked at the waist.
With what you learned making these hooks, you can start to make other items. With practice, these techniques will allow you to begin to learn the basics of metalworking.
As always, if you have questions, please comment and I will answer as soon as I can.
Citation for the image above: A Young Englishwoman, costume study. Pen and black ink and watercolour on paper, 16 × 9.2 cm, Ashmolean Museum, Oxford. The drawing was done either during Holbein’s first stay in England between 1526 and 1528 (the costume resembles that in the More Family drawing) or early in his second stay, which began in 1532 (Foister, p. 110), Date: 1526–28 or c. 1532–35, Source: Susan Foister, Holbein in England, London: Tate, 2006, ISBN 1854376454, Hans Holbein (1497/1498–1543)