Make sure to visit my YouTube channel and click “Like” and “Subscribe”
Visit my Facebook page: https://www.facebook.com/JewelryDeconstructed
Visit my Patreon page: https://www.patreon.com/jewelrydeconstructed
This video shows how to make a basic, but often used tool at the jewelers bench. The sanding stick. You should make several of these in different grits of paper.
To make a sanding stick you need 4 items. A stick, sandpaper, something to score the back of the paper, and a roll of masking tape.
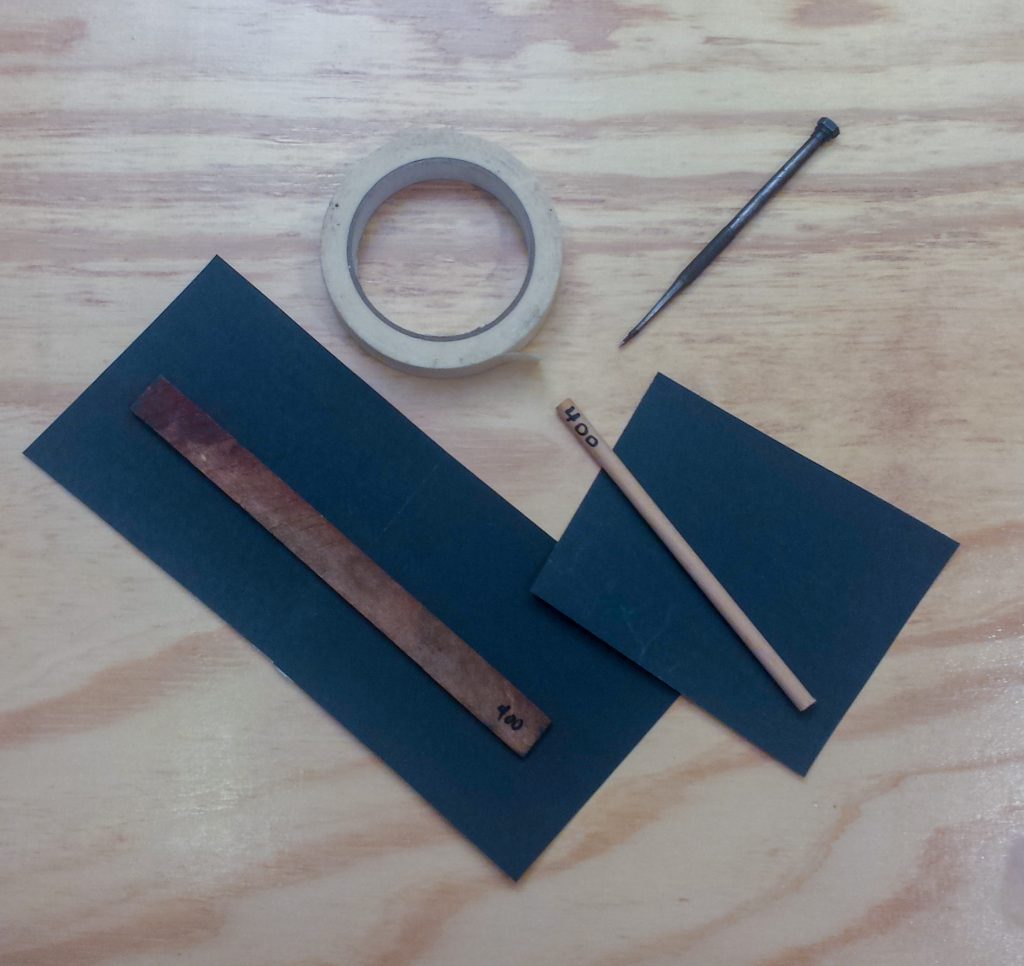
Start by choosing your sticks. Some people will use paint stirrers, but I find them too wide and they are too flexible for my taste. You can use sticks from 1.5 centimeters (0.5 inches) wide to over an inch. Mine tend to be about 2 – 2.5 centimeters (0.75 to 1 inch) wide. The length should be slightly longer than the paper. enough to be comfortable in your hand when using it. There are no hard and fixed rules. Just what works for you.
To make a sanding stick, find a flat surface to work on and lay out your sandpaper face down. You then want to take the stick that you have and lay it along one edge of the sand paper.
Take the tool you will use to score the paper with and lightly run it along the edge of the paper. (Scoring refers to the process of making a crease in paper so it will fold easier. Basically, a paper score is a ridge that is indented into the paper where the fold line will occur.). Make sure you use a very light pressure or the paper will rip at the score line.
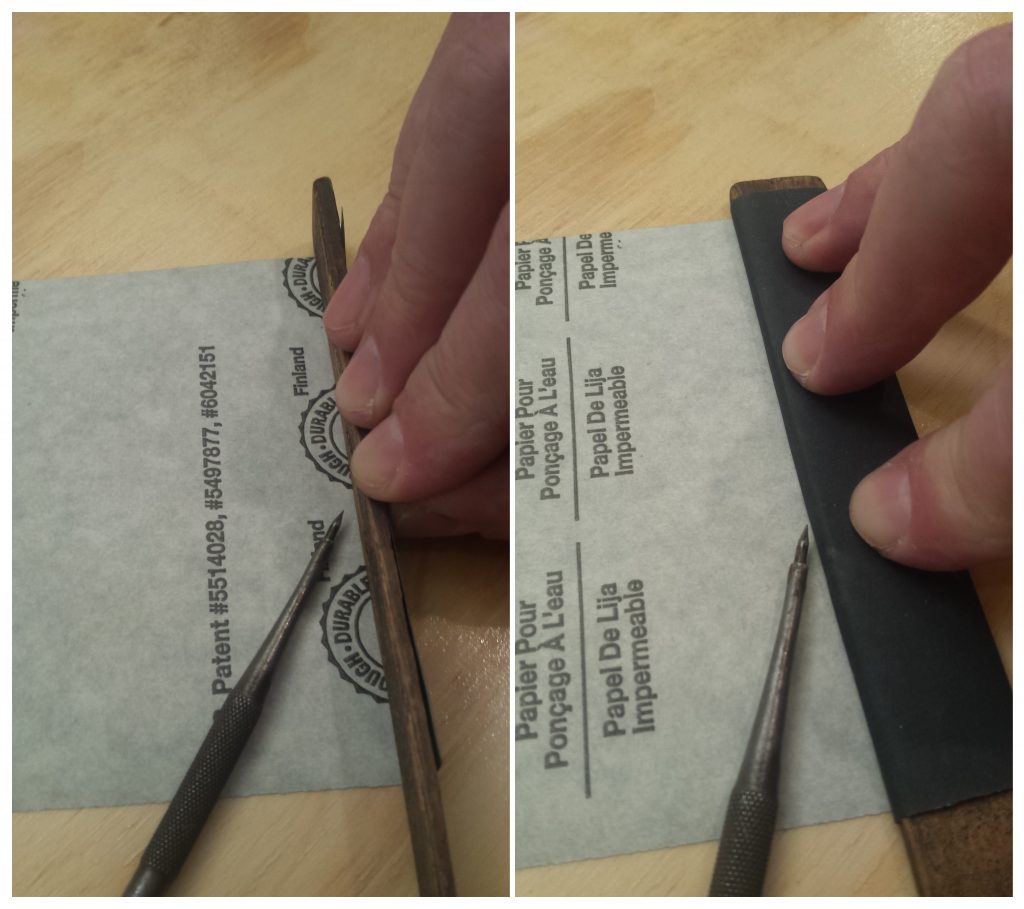
Fold the paper up and keep the stick tight against the crease. Score the paper again, and repeat until you have scored and rolled the paper onto the stick.
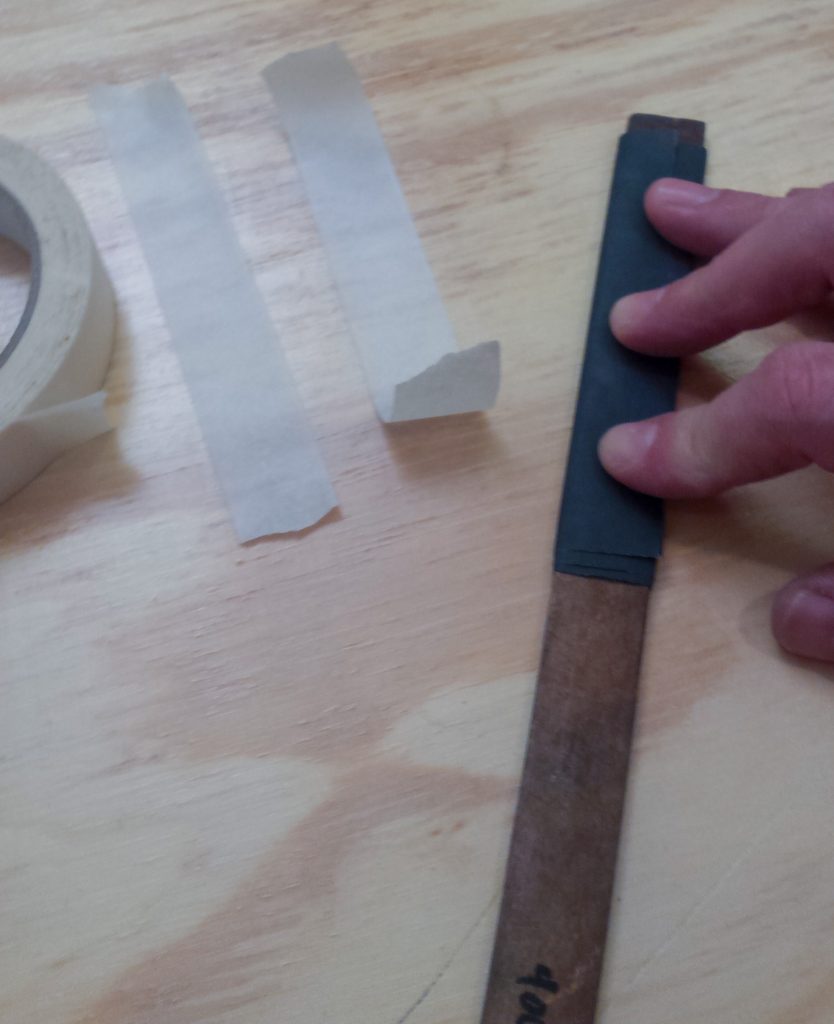
At this point, make sure you have the paper slid down the stick so about 1/4 of an inch of wood is showing at the top then take about 3 inches of masking tape and tightly roll around the top overlapping the paper and the wood. Now do the same at the bottom edge of the paper.
And you are done!
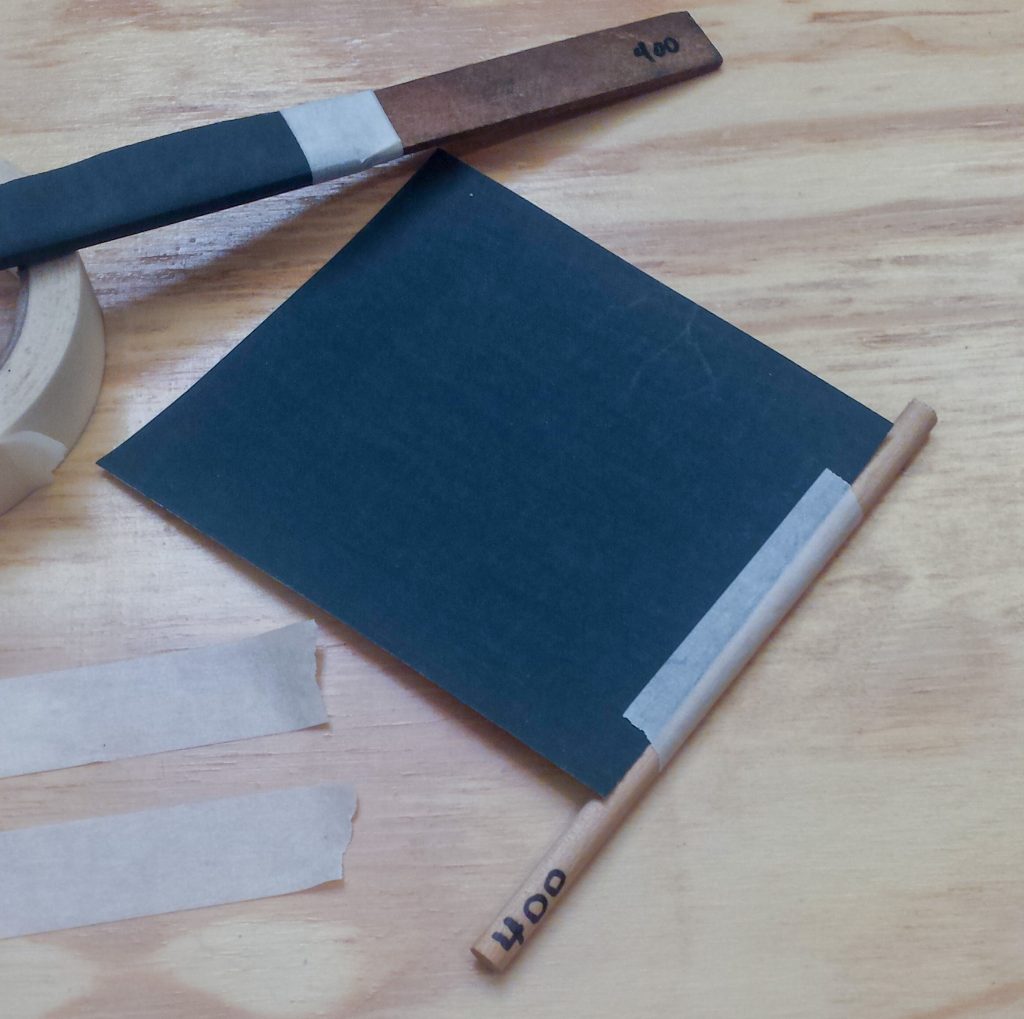
The process is slightly different for a round sanding stick. You do not score the paper, but you do tape the leading edge to the stick before rolling. This keeps it from sliding on the stick during use. Line the stick up as squarely as you can to the paper, making sure to leave some wood at the top for taping.
You want to roll the paper onto the stick as tightly as you can.
When it is on the stick tightly, tape both ends like you did for the rectangular sanding stick.
At this point, you are done. Make the tape or the stick with the grit of the sandpaper, and you are done making this very basic, but often used tool for jewelers.
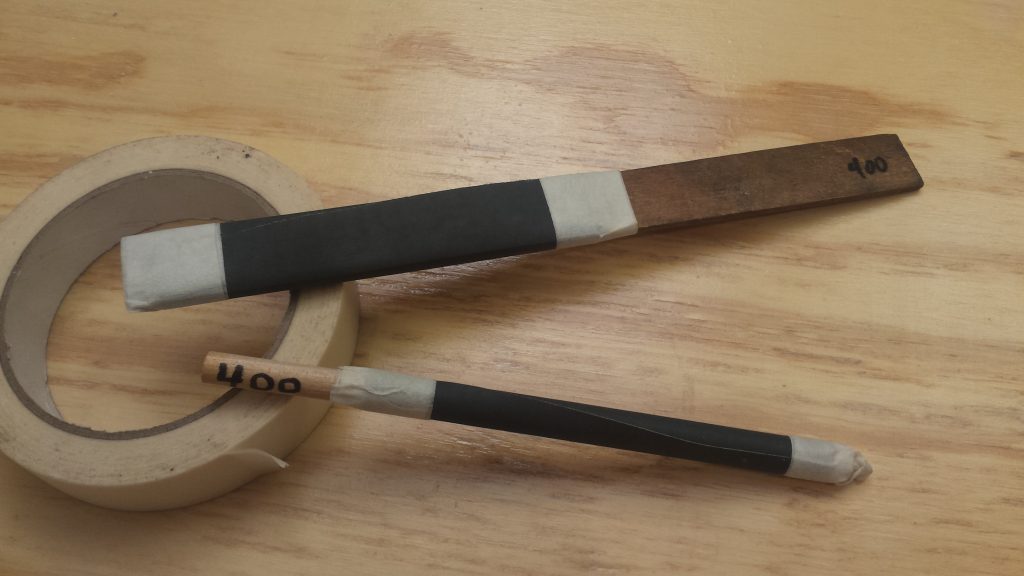
As you use these, the sandpaper will become clogged and worn. Just grab an edge of the paper and peel off the used section exposing new paper beneath.
One important note: When you roll the paper onto your sticks, make sure that you roll the paper towards your dominate hand. The reason for this is due to the way the paper edge will lay as you use the stick. When the opening of the paper is on the leading edge as you use the sanding stick, it is very prone to catching and ripping.
If it is on the trailing edge, it is much less likely to catch on what you are doing and ripping.
You can make these for any grit of paper you want. I tend to only use them up to about 400 grit. And I will have them in flat and round sticks.
if you have questions or comments, please make sure to leave them. I will try to answer them as soon as I can.